Back
AR Arduino Assistant
PROJECT BRIEF
An AR assistant for Cornell Tech's MakerLAB, designed for the Meta Orion platform. Describe what you want to build, and the system recommends components matched against the lab's real inventory, then overlays wiring instructions directly onto your breadboard — so the guidance lives on the workbench instead of on a laptop screen beside it.
RECOGNITION
Published in Technology | Architecture + Design 2 (TAD)
Problem Statement
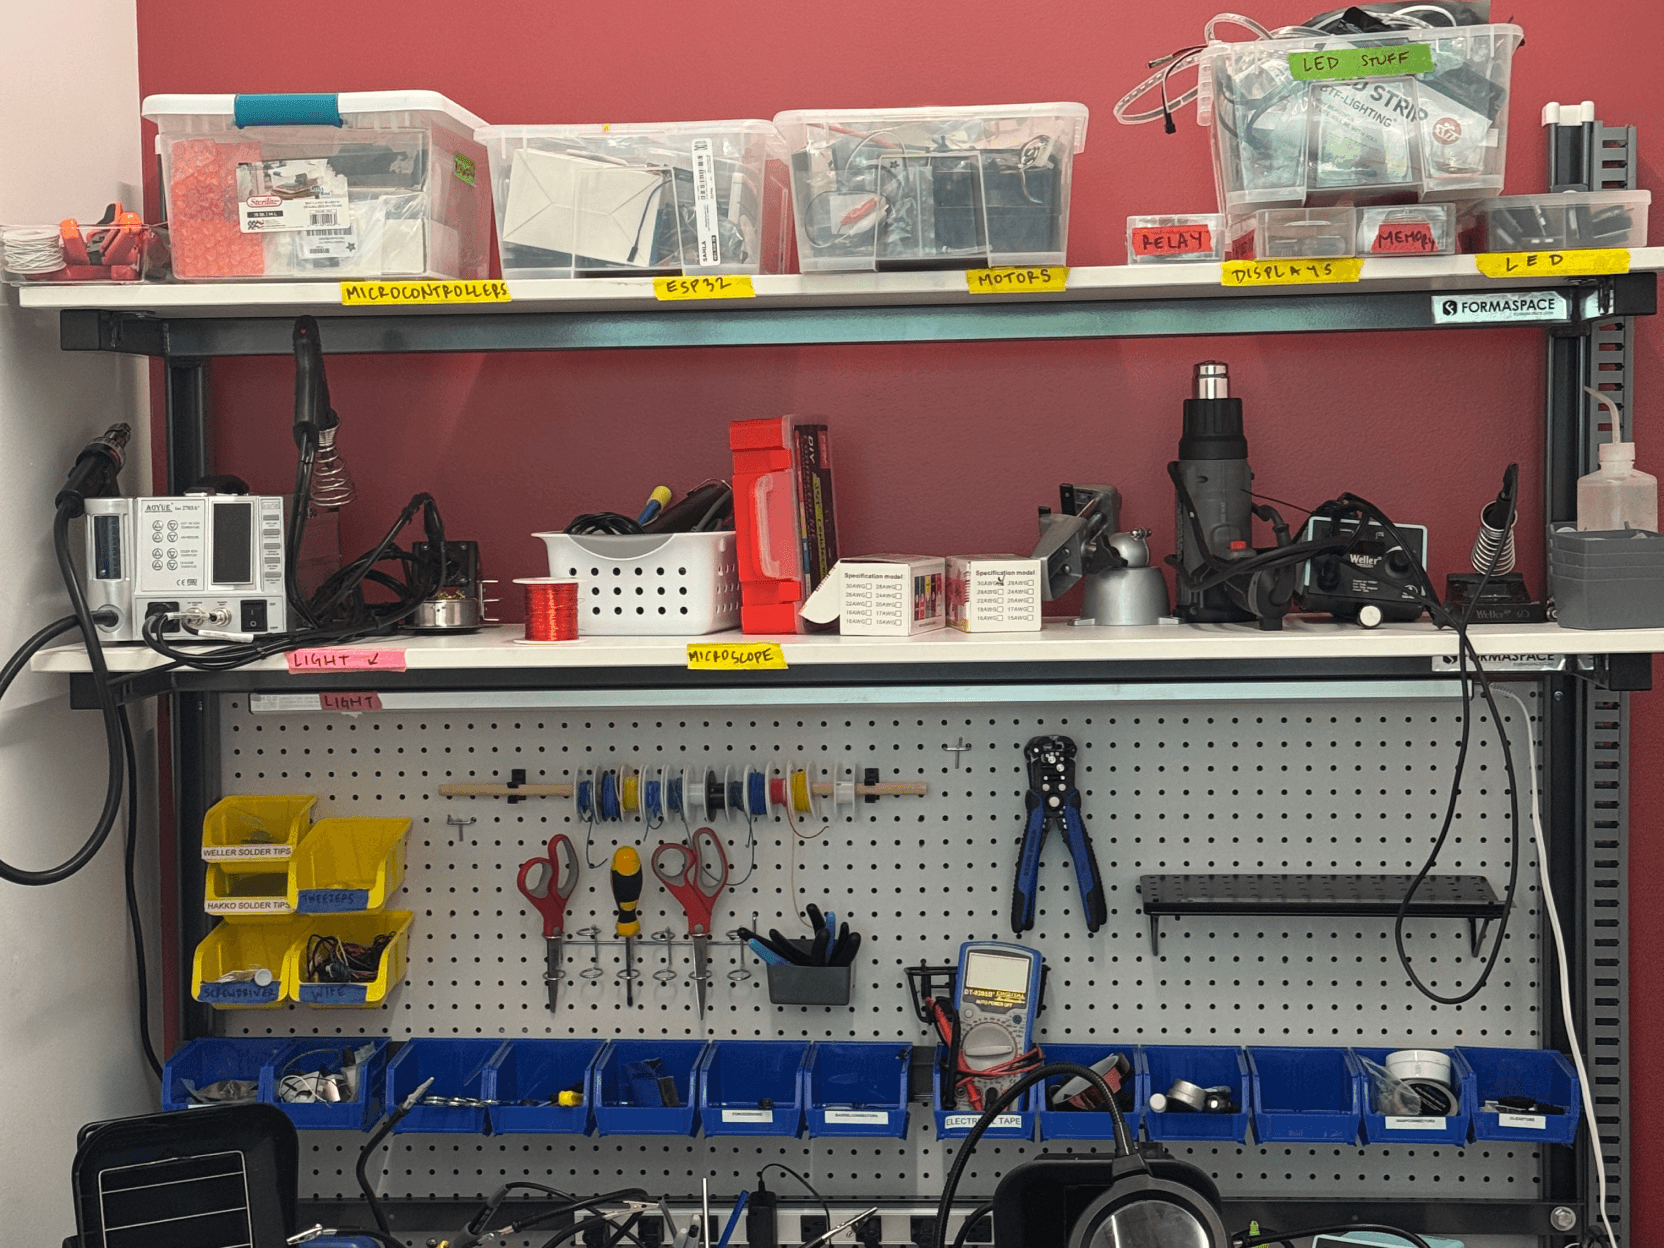
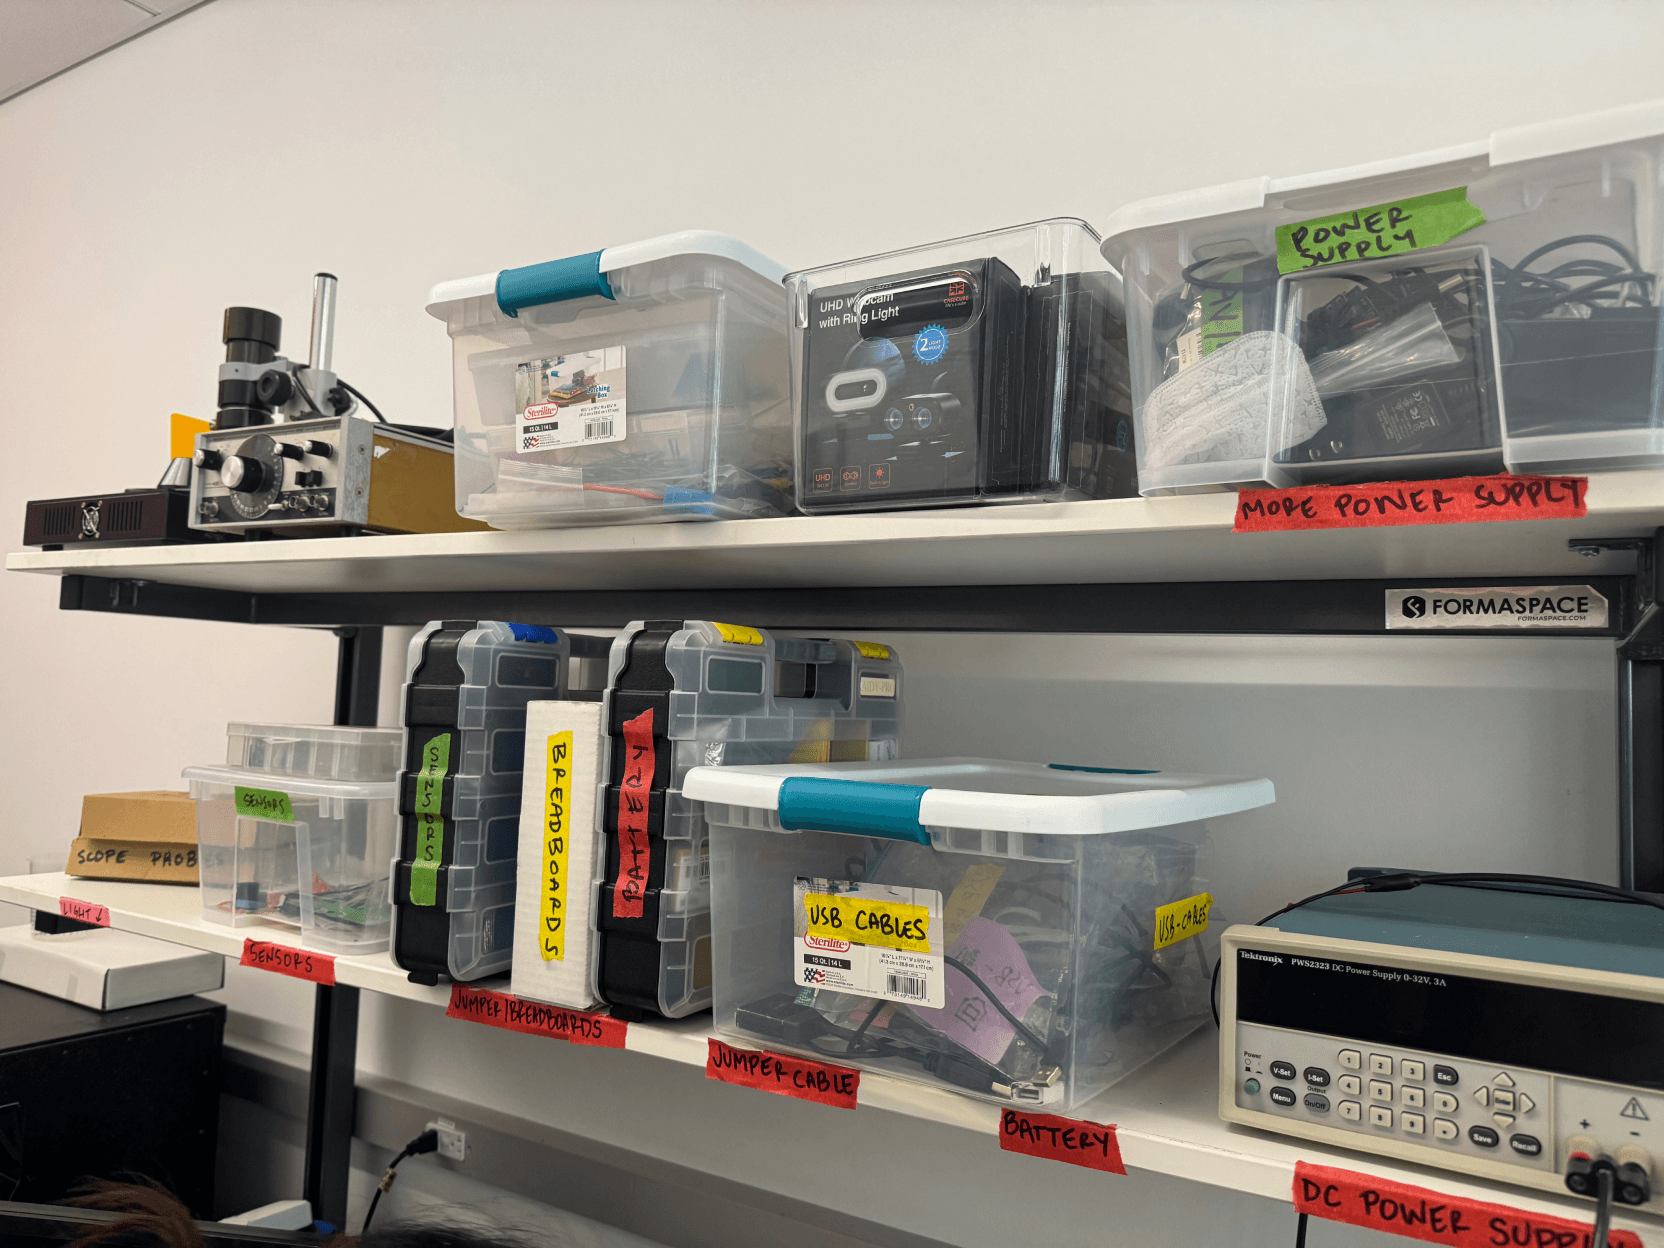
In Cornell Tech's MakerLAB Electronics Room, the hardest part of an Arduino project often isn't the project. Beginners arrive knowing what they want to build but not which sensor does it, and spend their first half hour opening bins or asking whoever looks least busy. Then comes the wiring: a diagram open on a laptop, a breadboard on the bench, and a gaze that has to travel between them on every single connection — translating a flat image into physical rows, one pin at a time.
That translation is where things break. A wire lands one row off, the code runs clean, nothing reads, and the next twenty minutes go to debugging software that was never broken. The knowledge the user needs is available; it's just in the wrong place — on a screen, in 2D, requiring both hands and full attention that the task has already claimed.

Pain Points
01
Component Uncertainty
Beginners don't know which sensor fits their goal, and can't tell what the lab actually has in stock.
02
Context-Switching
Every connection requires looking away from the circuit and mentally mapping a 2D diagram onto 3D hardware.
03
Physical Constraint
Scrolling a tutorial or zooming a diagram means putting down the wire you were holding.
04
Labels That Don't Resolve
Bin labels aren't specific enough when several similar-looking parts share a shelf, and components often don't make it back to the right bin at all.
Key Features
01
Voice-Based Project Input
The user describes what they want to build in natural language, such as “I want to make a button-controlled LED,” and the system uses that request as the starting point.
02
AR Component Location Guidance
The system highlights where the required parts are stored in the MakerLAB Electronics Room, helping users quickly find the right bins, shelves, or modules.
03
Smart Component Recommendation
The system generates a checklist of the required parts, such as Arduino, breadboard, LED, resistor, pushbutton, and jumper wires, so users do not need to already know what components are needed.
04
AR-Guided Circuit Assembly
The system overlays step-by-step wiring instructions onto the workspace, guiding users through the circuit-building process and reducing mistakes from switching between a screen and the physical breadboard.
Design Decisions
Anchored, not heads-up
A floating HUD still makes you translate a flat diagram into physical rows. Guidance is drawn onto the breadboard itself.
Voice control, not touch
In the MakerLAB your hands are always holding something. Voice is the only input that doesn't compete with the task.
QR codes, not room-mapping
Bins move and stock changes; a printed code stays accurate no matter what's behind it.
Prototype
The system was prototyped in ShapesXR as a mid-fidelity spatial prototype — built in VR rather than on the target AR hardware, so the experience could be tested against the room it was designed for.


We scanned and rebuilt the MakerLAB Electronics Room to scale: shelf positions, workbench layout, and approximate component locations. Designing inside a replica of the actual space meant every distance in the prototype was a real distance — how far the shelves are from the bench, where a user stands when they scan a code, how much of the workspace an overlay would cover.

Breadth covers the full journey:
voice request → component checklist → locating parts in the room → AR-guided wiring.
Depth focuses on one scenario in detail — building a pushbutton-controlled LED. The prototype simulates how the system would respond rather than implementing it: there's no working recommendation model, no computer vision, no real circuit detection. What it demonstrates is the interaction itself — what the user sees, when, and where.
Refelections
We ran a comparative evaluation: two participants, two comparable wiring tasks each — one with 2D instructions, one with the AR prototype, counterbalanced. Small sample, simple tasks, so: formative feedback, not evidence.
The clearest gain was in finding things. Participants who dug through bins in the 2D condition went straight to the shelf with AR guidance. Wiring improved too — fewer glances away from the board, fewer misplaced wires. Completion rate didn't change; both participants finished either way. The value, if there is one, is in speed and confidence, not in whether the circuit gets built.
The AR condition also broke in its own ways. The headset was heavy in exactly the wrong way for work that requires looking down. And the virtual breadboard we overlaid on the physical one sometimes obscured it — the solution reproducing the problem it was meant to solve.
What I'd change: highlight only the active row instead of overlaying a full virtual model; add step counters and clearer status; split guidance into beginner and experienced modes, since one level of explanation served neither well.
Spatial guidance isn't automatically better than a diagram. It's better only when it stays out of the way of the thing it's pointing at.
